
Before and after processing with texture overlays …
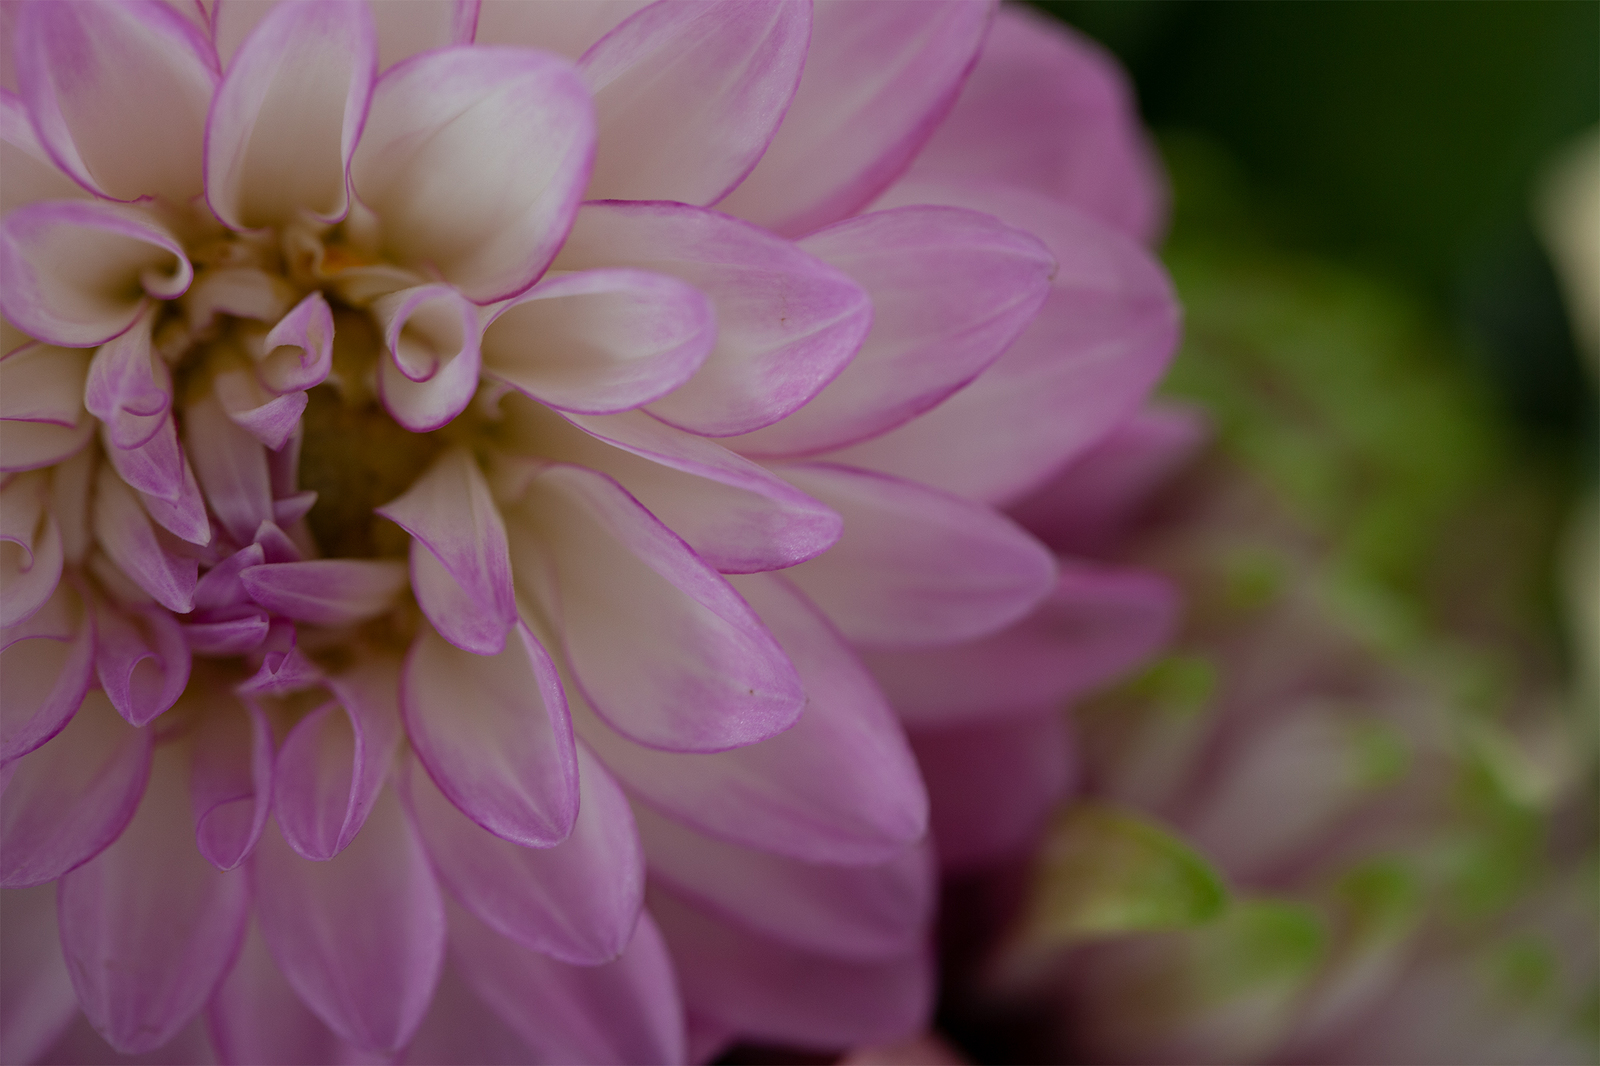
I wanted to tone down the colours in the image to emphasise the shapes of the petals and to create a sense of depth and mystery.
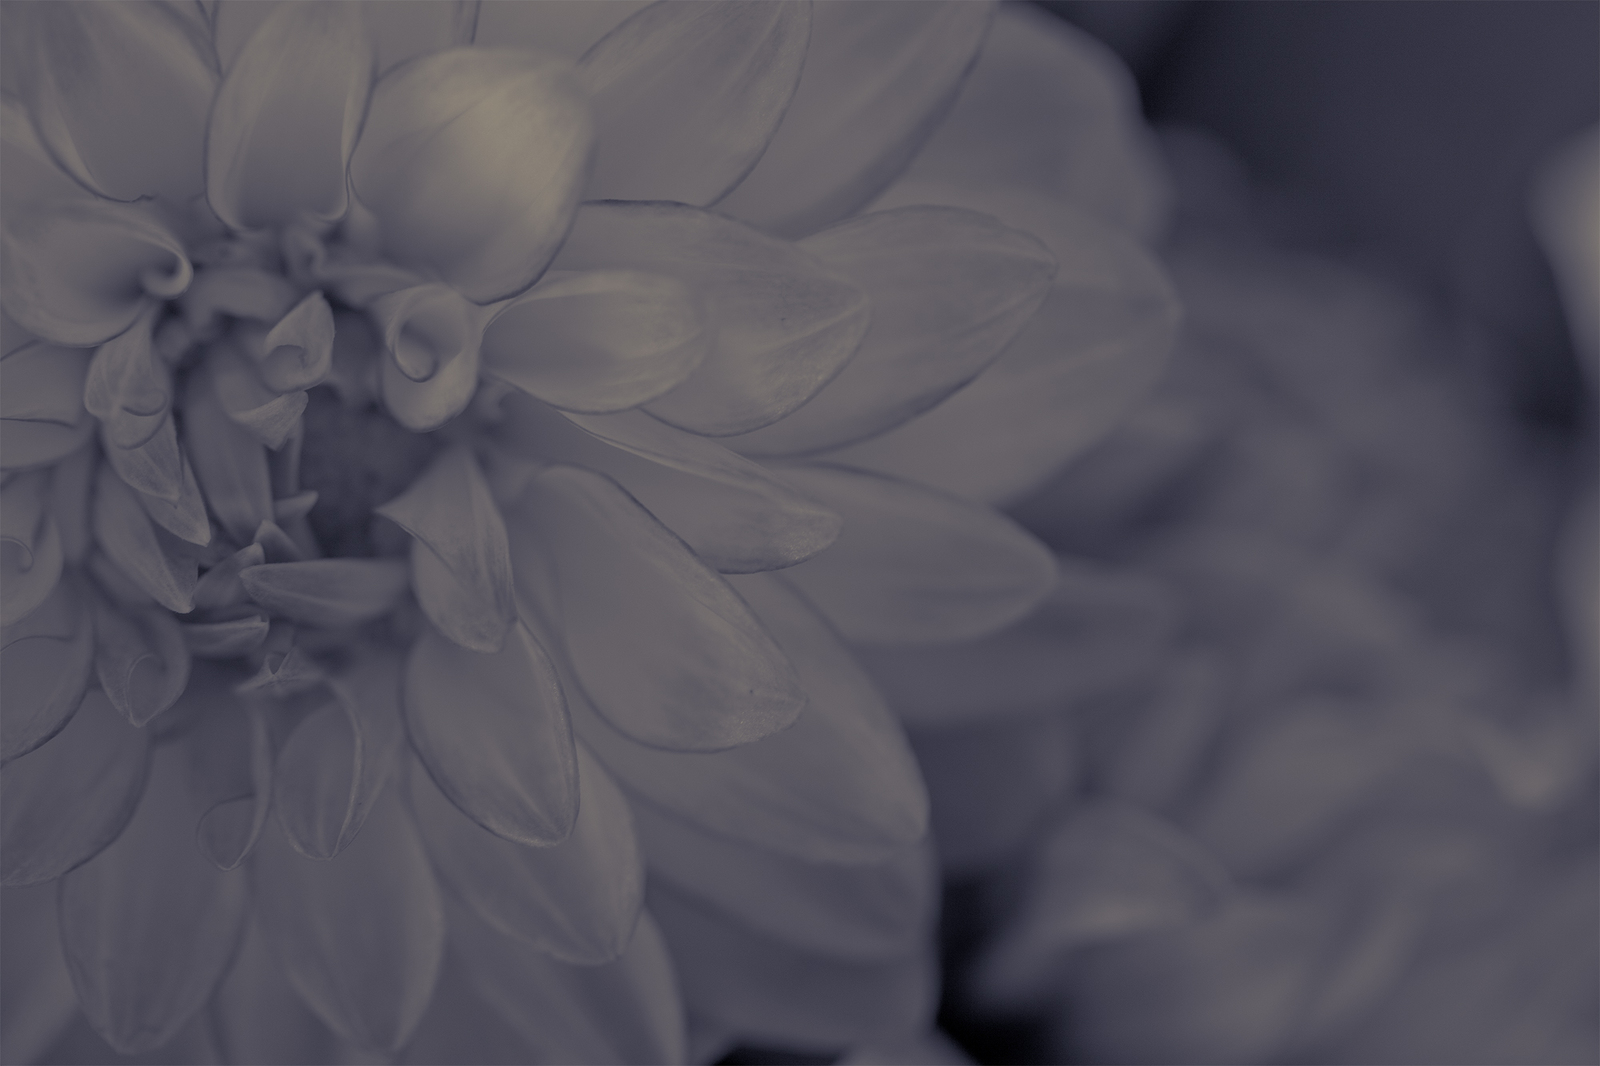
Lightroom Processing
In Lightroom I used a preset (i.e. a processing formula I’ve developed to create a particular effect and then saved so processing can be applied quickly to any image). The preset ‘Silvered’ created a soft dark monotone image.
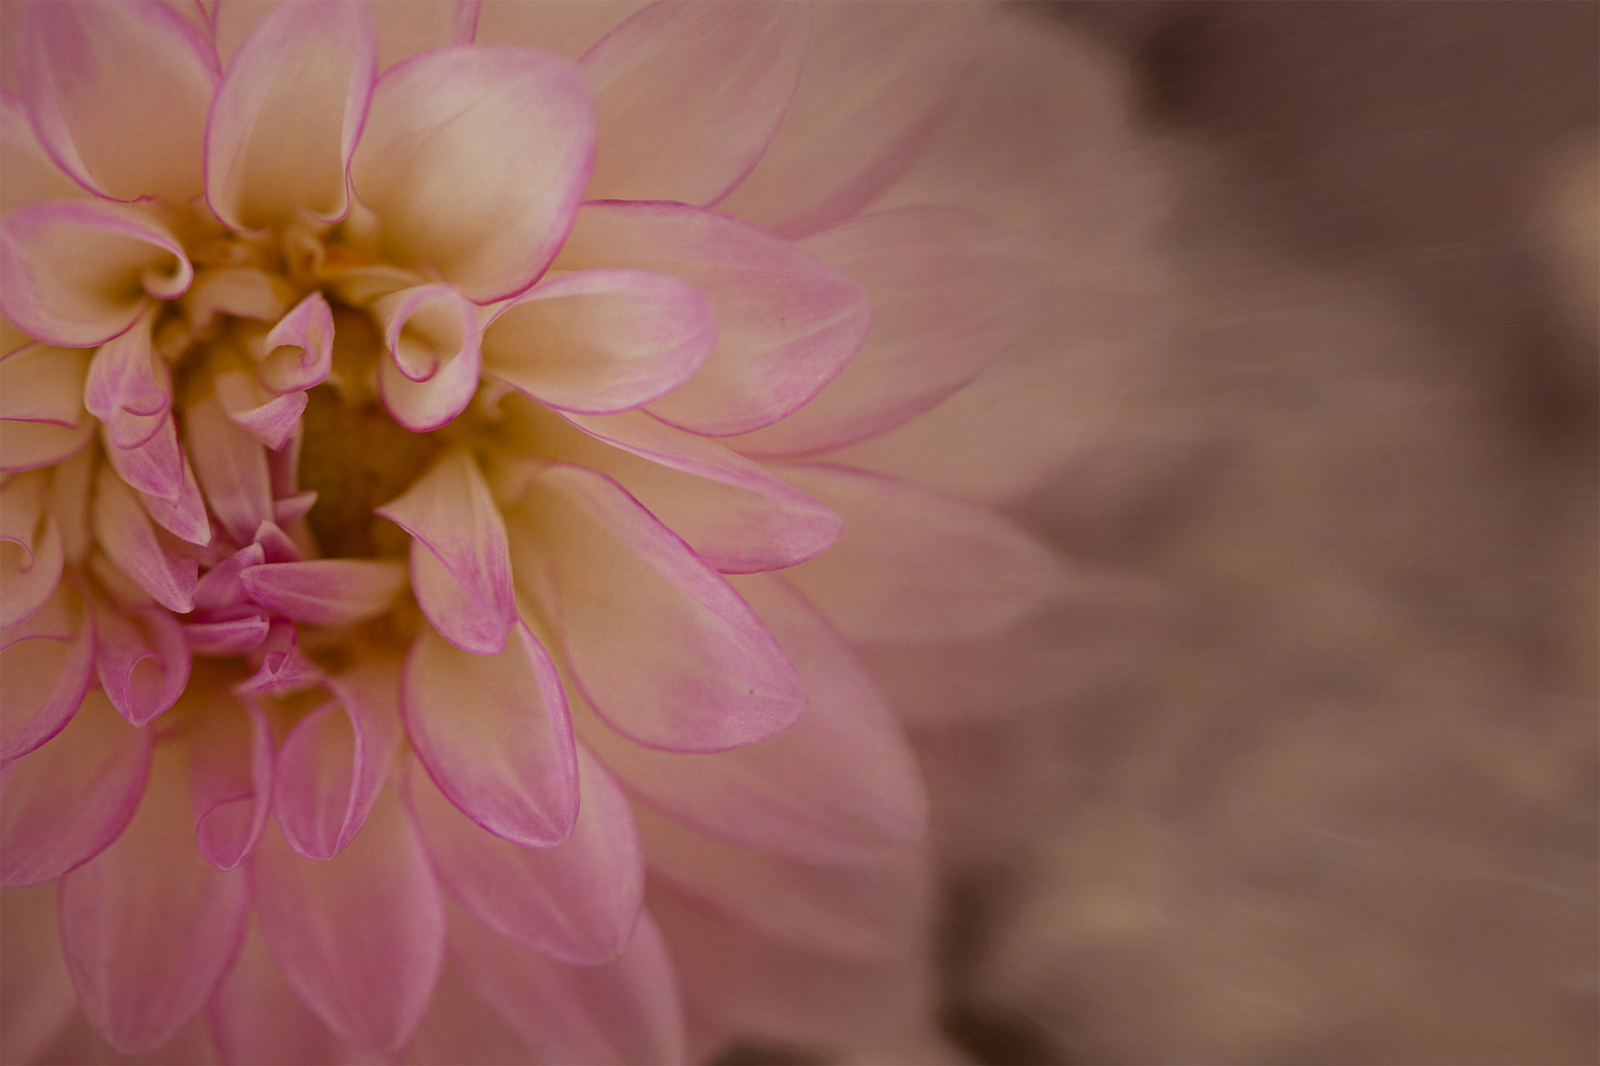
Photoshop Texture Recipe
In Photoshop, over the original image, I layered the Lightroom processed version of the image, and added a texture to add depth and character to the image.
This recipe assumes a level of familiarity with applying and selectively removing textures in Photoshop. If you’re not familiar with the processes involved, please check out my tutorials.
Texture
Gravelly: a texture built from photos of the Canning Dam wall, overlayed with lace, a woollen pashmina, and a gravelly path.
Recipe
- Over the base image,
- Silvered: Normal 100%. On a layer mask, use a brush @ 100% to remove the monotone image from the centre of the chrysanthemum
- Gravelly: Multiply 30% to darken and add some grunge to the image
- Gravelly: with Radial zoom blur to create movement, Multiply 30%
- Silvered: Luminosity 50%. On a layer mask, use a brush @ 80% to remove the monotone image from the centre of the chrysanthemum
- Adjustment layer: Colour Balance to create a warmer hue
- Merged layers: Screen 50% to brighten the image
- Base image: High Pass 4px, Soft Light 50% to sharpen the details. On a layer mask, use a brush @ 100% to remove the sharpening effect from the background